


>>> The Warp 5-ply cotton twine, tex 30×15 (1 kg = ca. 2020 m).
>>> Warp width 120 cm, density 2 threads/cm, number of warp ends 240 + 4 (double 2 edge threads), length 10 m.
>>> The amount of yarn needed 1190 g.
>>> Reed 20/1.
>>> Weave Plain weave.
>>> The weft Frotee Loopy craft yarn and Tricot weft
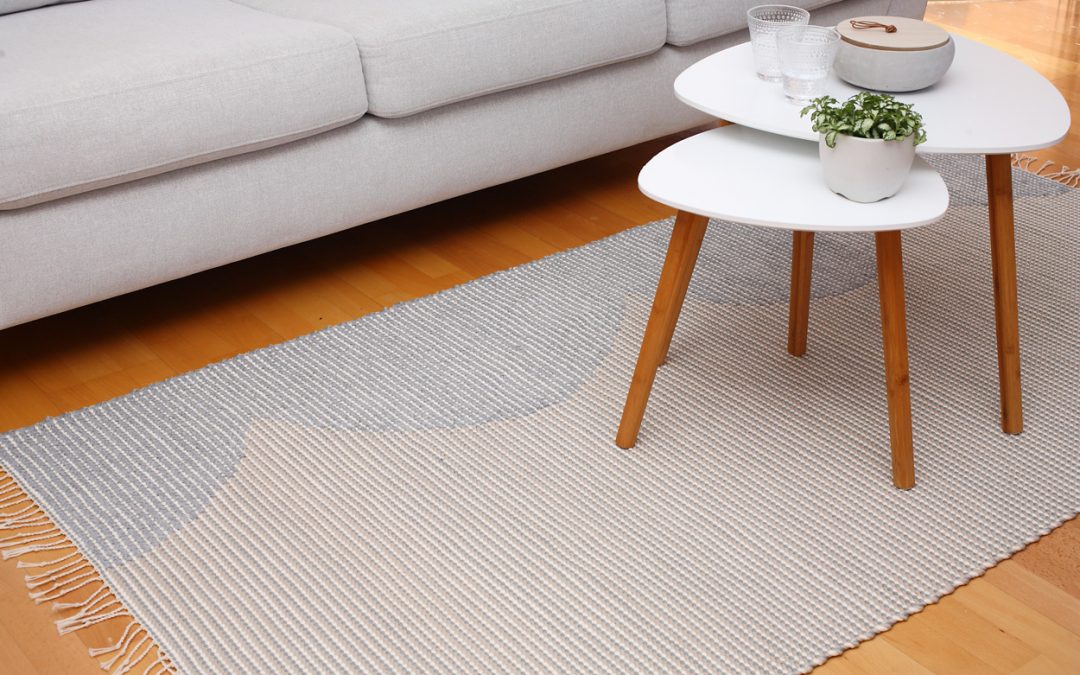
A rug made with the clasped weft weave is just as sturdy as a standard plain-weave rug. For this rug, we chose a furry weft as the second weft to enhance the shape and surface, but you could just as well use tricot. You need four shuttles for weaving: two for the shooting the weft from side to side and two for the pattern wefts.

The pattern is formed when we shoot the different colour wefts from the sides to towards the middle, to the edge of the pattern. In the following row, shoot the wefts back to the sides from the middle.
Weaving the Cloud Edge pattern
Before you start, draw one arc on a piece of paper in the correct size, to use as a pattern sheet. To make the arc symmetrical, draw the arc and cut it out. Then fold the edges together and correct any differences by cutting. It is difficult to weave an arc without a pattern sheet!
When weaving, place the pattern sheet on top of the fabric every now and then, to see which way the pattern should go. Every so often, make a reference mark using a pin on the rug and a pen on the pattern sheet. This will help you align the paper correctly.
At the beginning, as you weave, the rug will get narrower, and so will the pattern. This means that the pattern sheet size will not be correct. You need to fold the pattern sheet a little on the side to make it narrower. You can also mark the pattern directly on the warp, but please note that the markings will be visible in the finished work.
Weaving the Cloud Edge pattern

1. Shoot an off-white tricot weft.

2. Shoot a grey tricot weft.

3. Shoot a pattern weft (furry grey weft) into the middle, take the shuttle out of the shed at the edge of the pattern and place it on top of your work.

4. Shoot a pattern weft (beige tricot weft) in the same shed from the other side, take the shuttle out at the edge of the pattern and place it on top of your work.

5. You have shot your first weft pattern rows. Beat the weft with the beater.

6. Treadle the next shed, slide the shuttles back in the shed at the same point where you took them out and shoot them back to the sides. Do not intertwine the wefts when you turn them around toward edges.

7. The second weft patterns are done; beat the weft with the beater. Continue in the same way by shooting the off-white tricot, grey tricot, and the pattern wefts that meet in the middle, then shoot the pattern wefts back towards the sides.